User Groups allow you to group users and control what they have access to as a group. You can configure a user group’s and grant permissions to it. The permissions are applied to all users that are part of the group. There are two default Logpoint User Groups: Logpoint Administrator and User Account Administrator. You cannot edit or delete these two. You can create your own, edit and delete them.
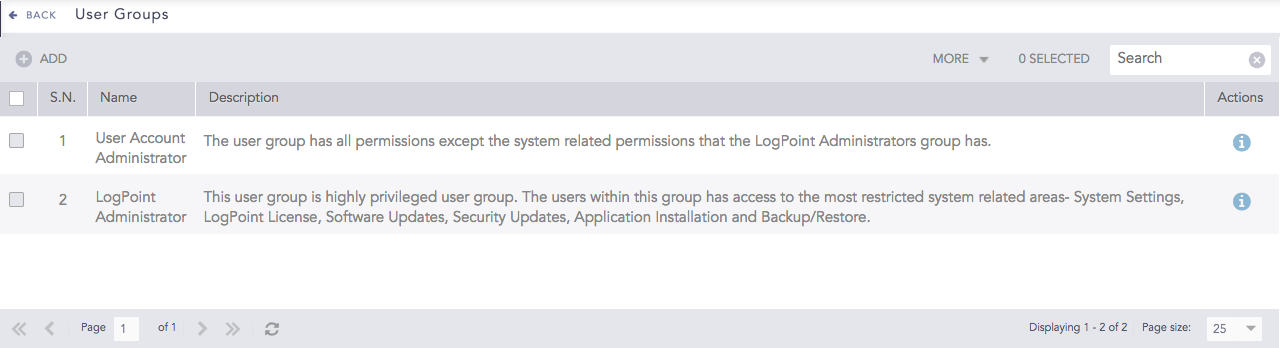
User Groups
To sort the columns in ascending or descending order, move your cursor to the column you want to sort. You will see a down arrow; click it and select Sort Ascending or Sort Descending.
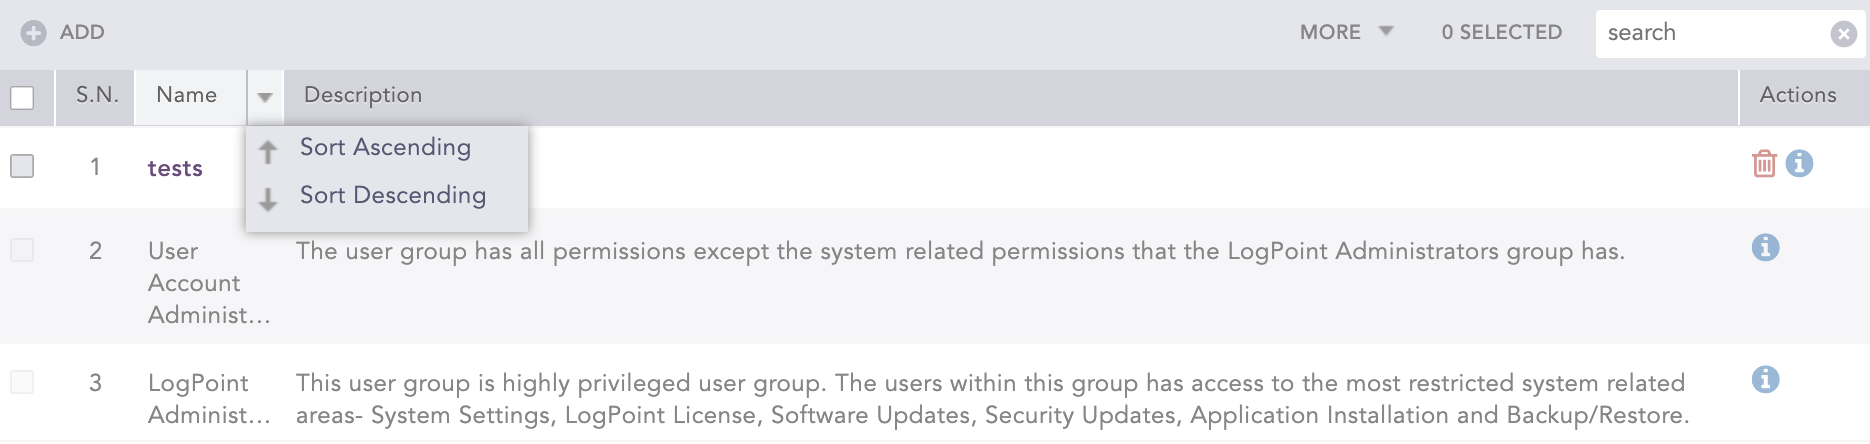
Sorting Columns
To filter the columns you want in the UI, click the MORE dropdown, click Columns, and select the columns you want.
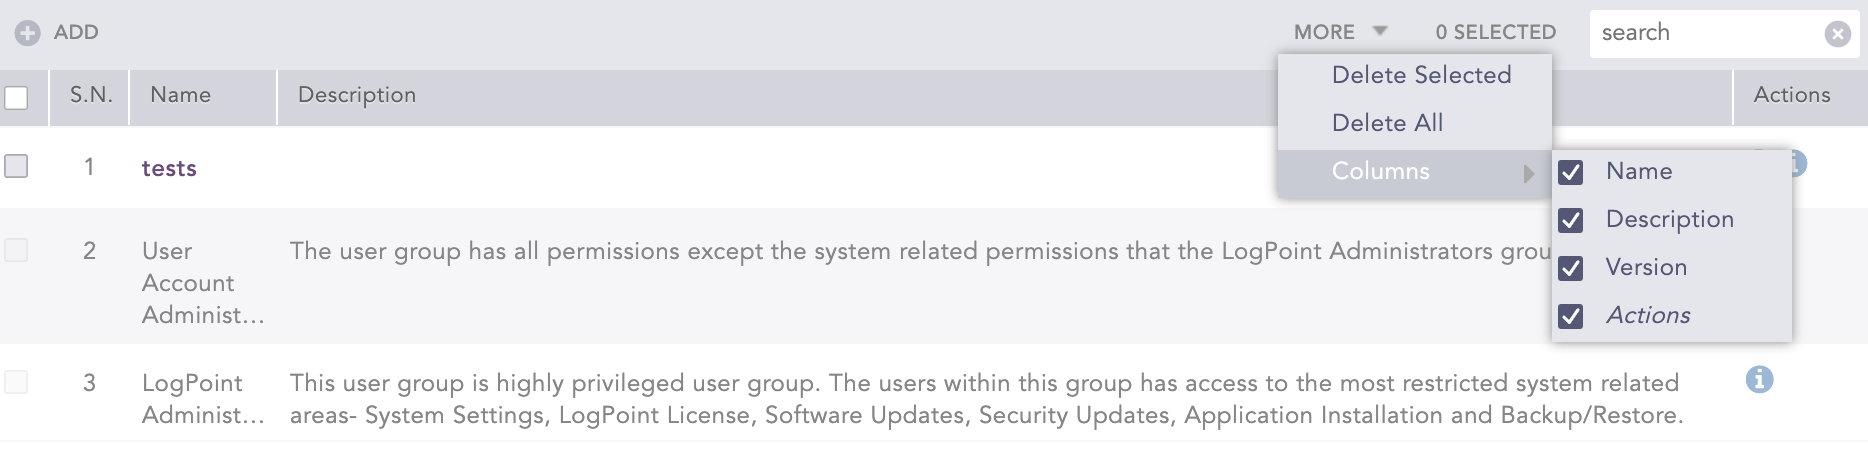
Filtering Columns in the UI
Logpoint Administrator group members can access to all available features and settings.
User Account Administrator group members have all permissions except for System Settings permissions. They also can’t view users of the Logpoint Administrator group.
You have to enable SOAR in order to create permissions and assign them to a User Group.
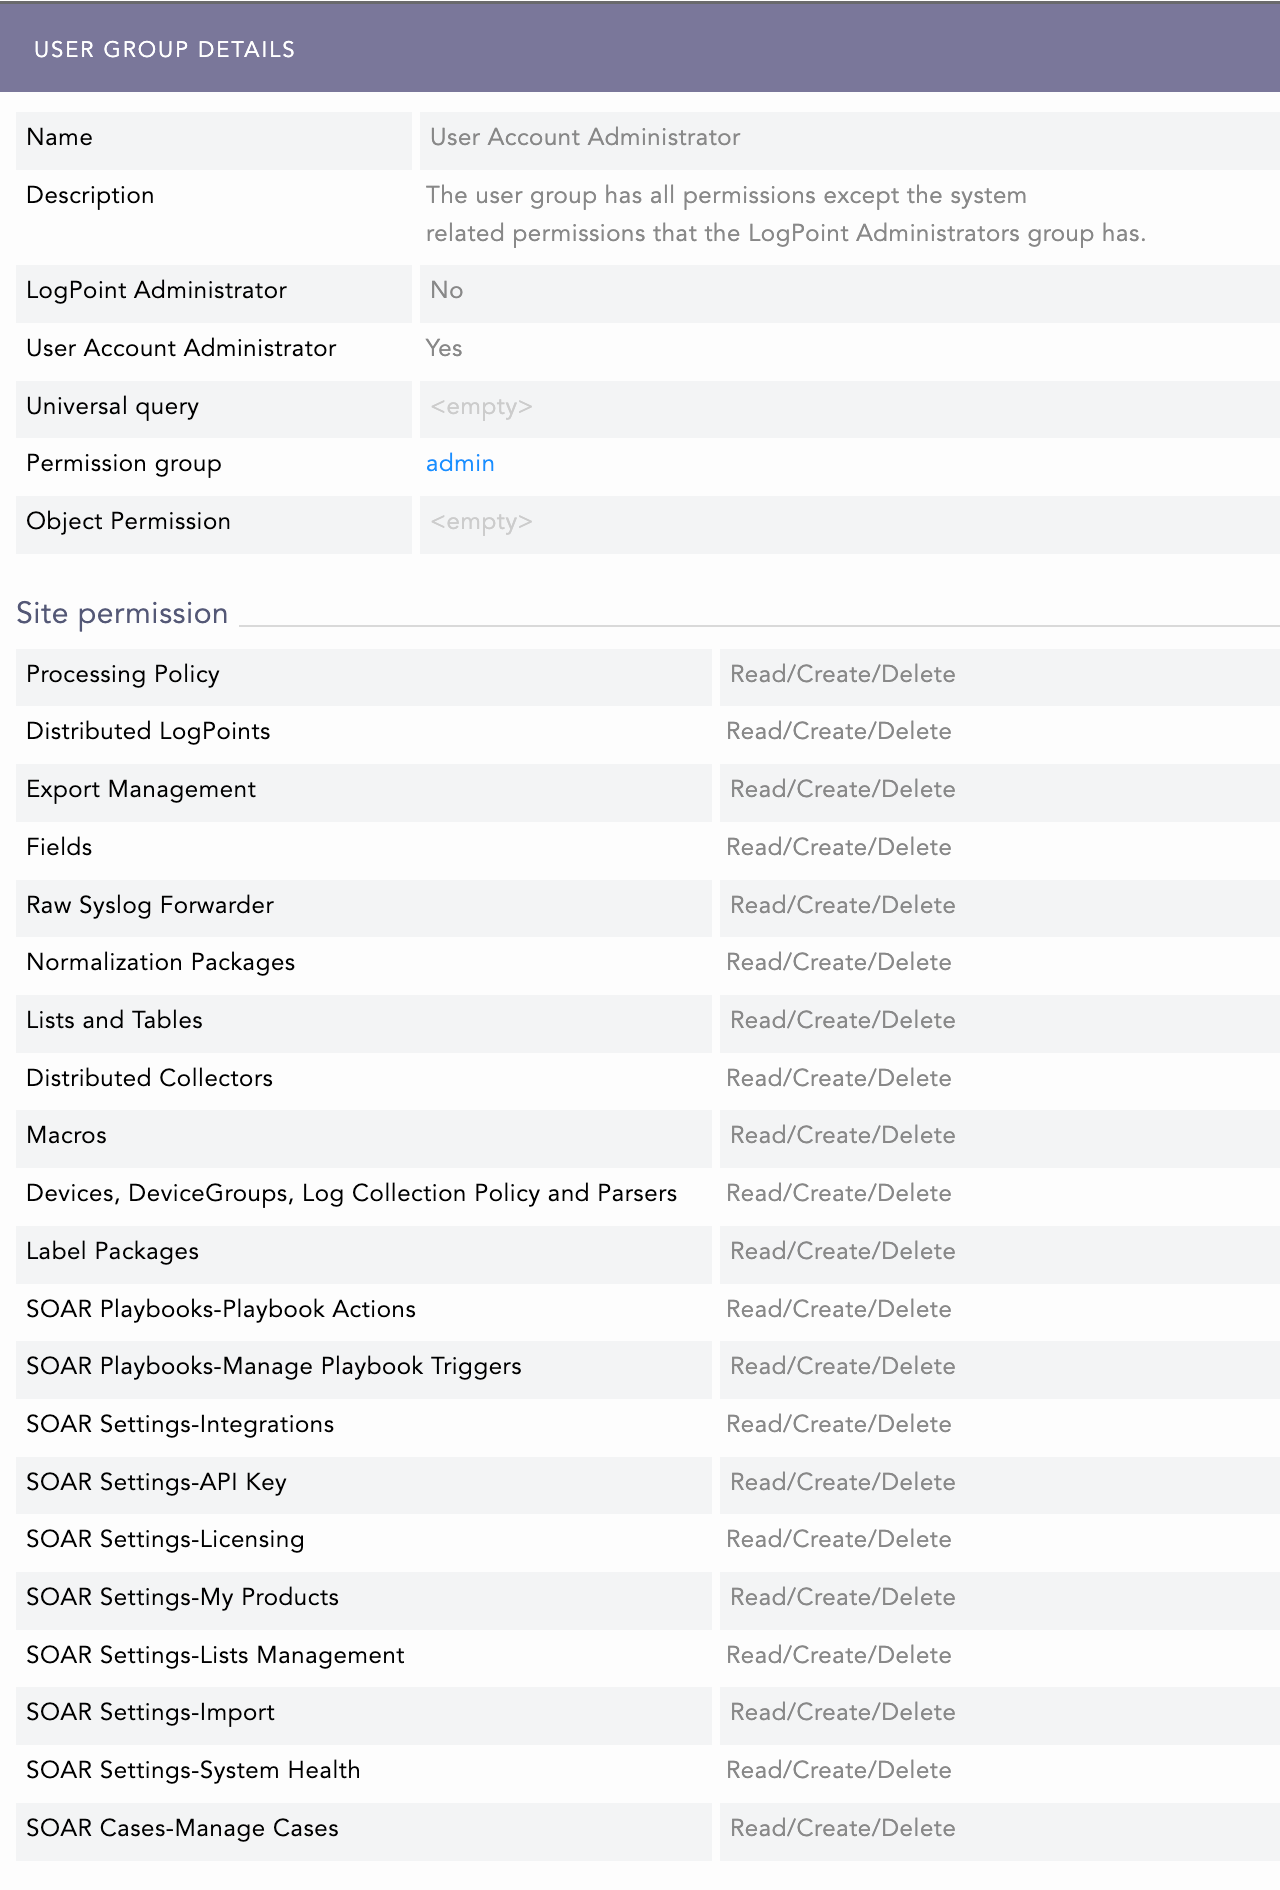
User Group Details
You must create Permission Groups to control the read, create, and delete access levels you want to give to the User Group you add.
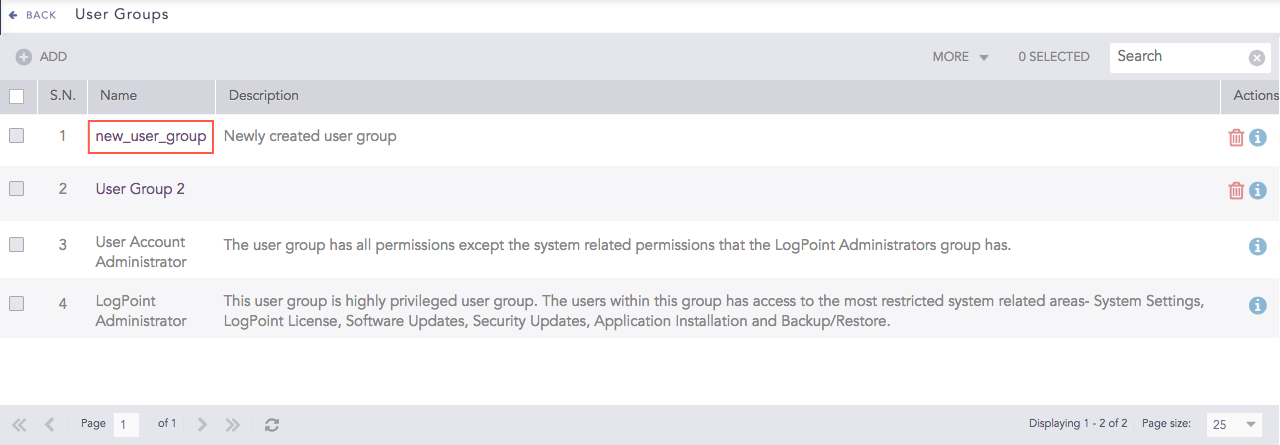
Go to Settings >> User Accounts from the navigation bar and click User Groups.
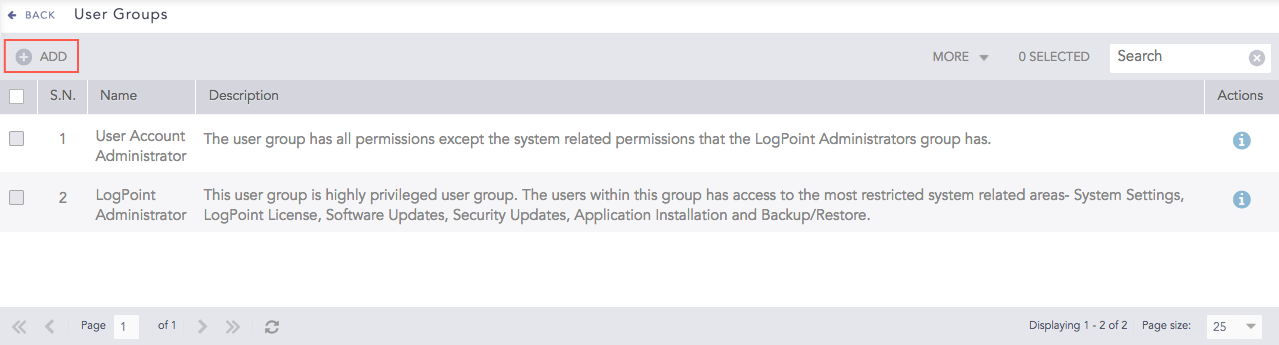
User Groups
Click Add.

Adding a User Group
Enter a Name and a Description.
Enter a Universal Query. Logpoint appends the universal query to each search query entered by the users of the group.
For example, if you enter col_type = syslog as a user group’s universal query and search the term login, the system searches for login in the result set of col_type = syslog. The search query is equivalent to col_type = syslog and login for the users in this group.
Select a Permission Group.
Click Object Permission.
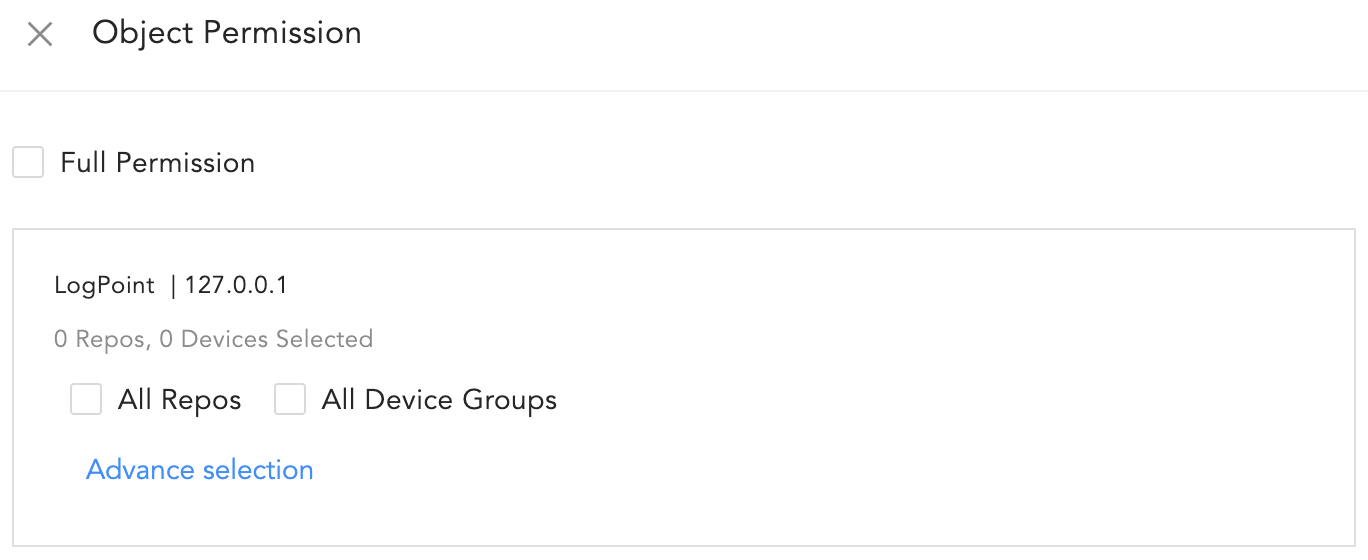
Granting Repo & Device Permissions
Select the permission you want to grant in the User Group.
7.1. Full Permission
Select Full Permission to allow the user group to access all repos, device groups, devices, log sources and IP addresses in all of the Logpoints in your environment.
When you grant Full Permission to a user group, all members will automatically have access to any new repos, or device groups, for example, when they are added to a Logpoint instance.
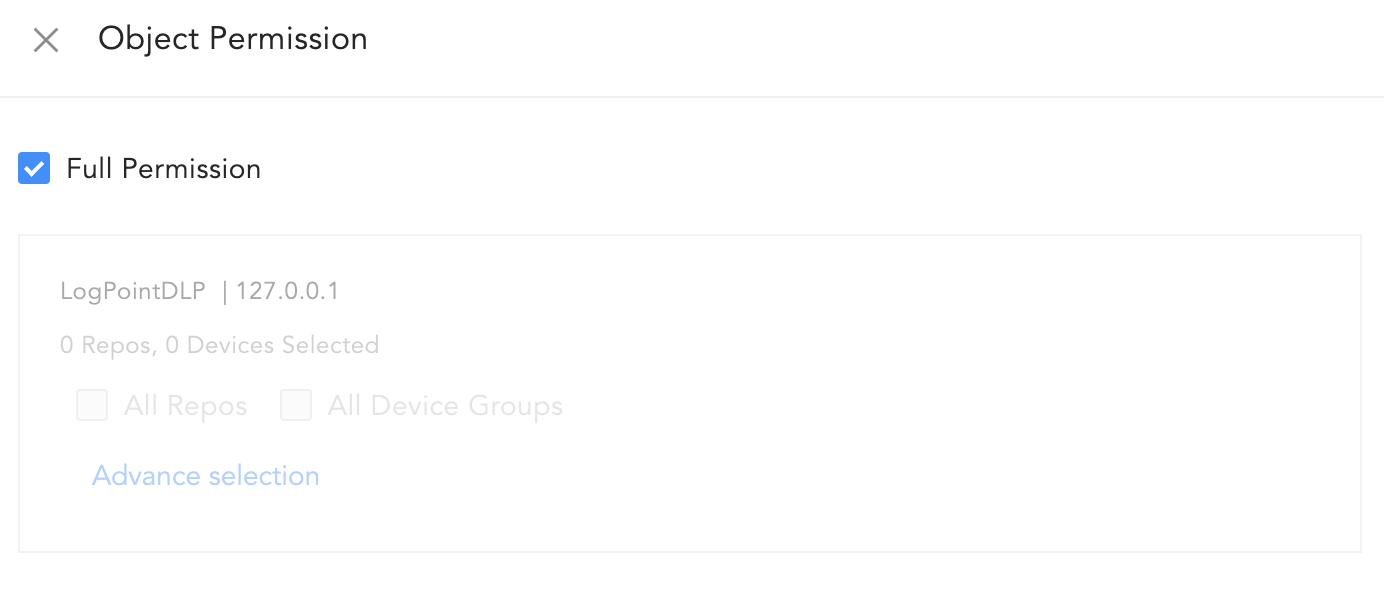
Full Permission to all Logpoint Instances
7.2. Instance Level Permission
Find the relevant Logpoint instance in the list, and select:
All Repos to allow the user group to access all repos.
All Device Groups to allow the user group to access all device groups, devices, log sources, and IP addresses.
When you grant All Repos and All Device Groups permission to a Logpoint instance, all members will automatically have access to any new repos, or device groups, for that Logpoint instance.
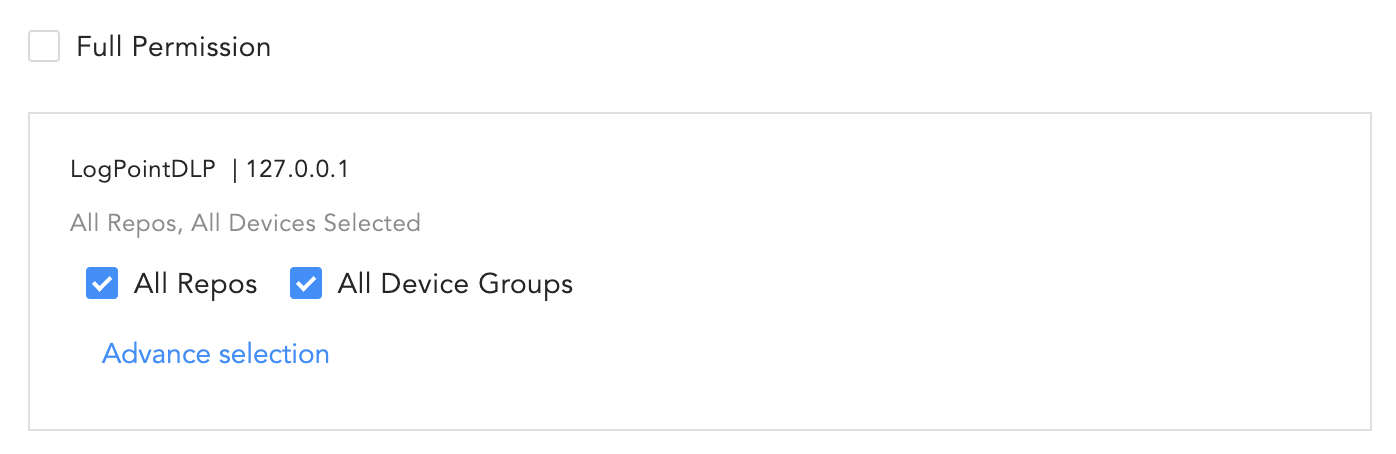
Instance Level Permission
7.3. Permission to Specific Repos and Device Groups
To select specific repos, device groups, log sources, devices, and IP addresses, find the relevant Logpoint instance in the list, and click Advance selection.
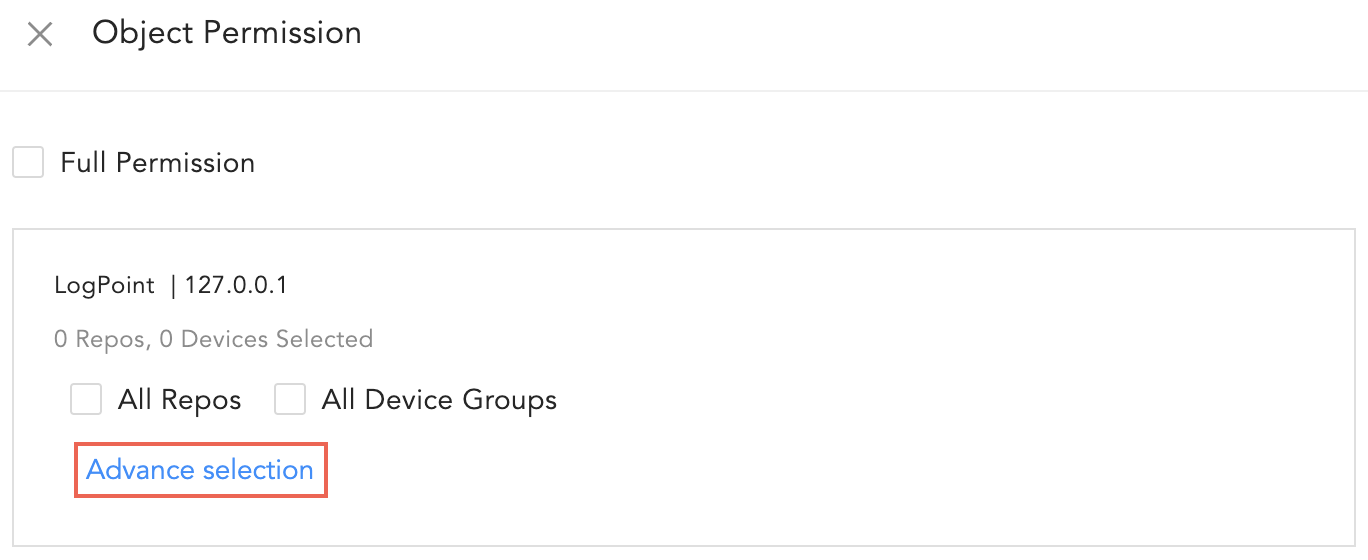
Devices and Repos Selector
Select Repo and Device lists the available Repos and Device Groups in that Logpoint instance. You can select devices, log sources, repos, and IP addresses you want to give permission for that User Group.
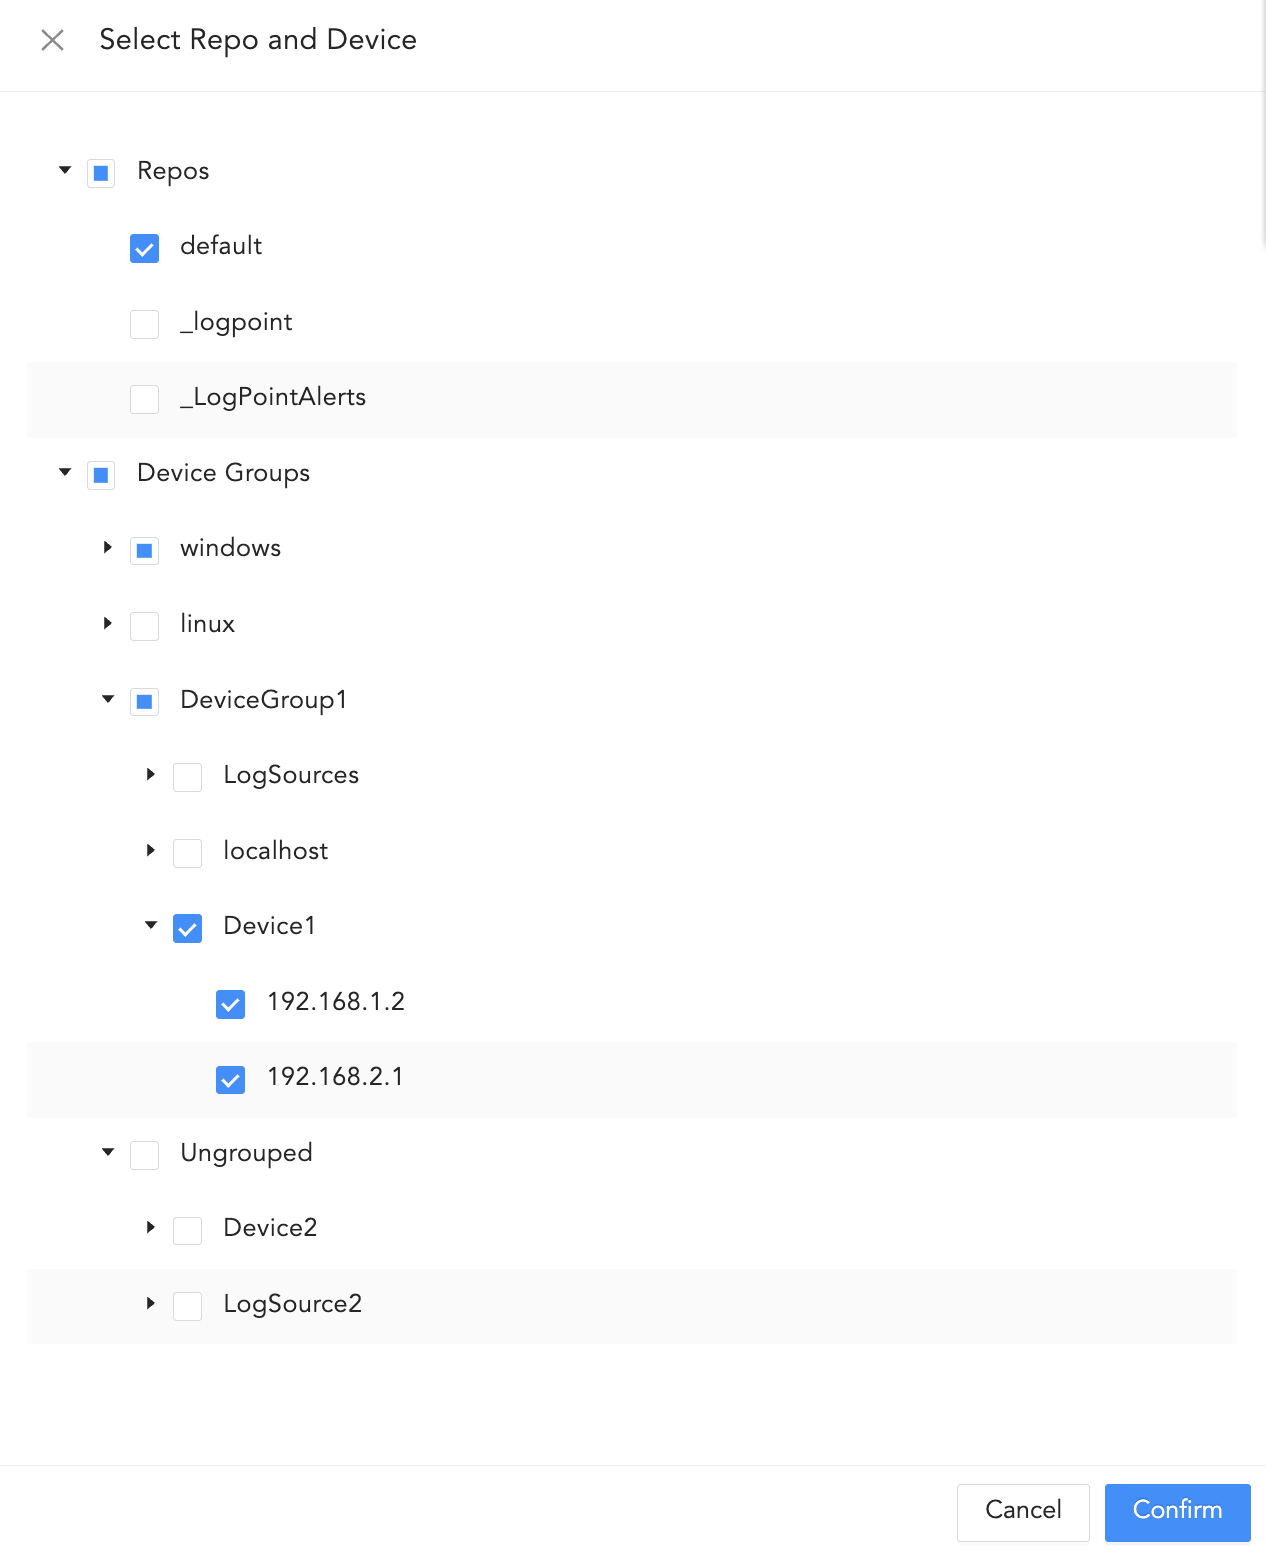
Repo, Device Groups, Devices, log sources and IP Selector
If you manually select everything within a device group, any new additions to that device group will get the same object permissions.
Devices and Log Sources not assigned to any device group are listed under Ungrouped.
If you select an IP address from the list, any other identical IP addresses will automatically be selected.
Click Confirm.
Click Save.
Click Submit.
Go to Adding User Groups to an Incident User Group, Adding a User, and Mapping LDAP Groups to Logpoint User Groups to learn how user groups are used in Logpoint.
Click the ? icon at the top right for a description of the UI controls.
Go to Settings >> User Accounts from the navigation bar and click User Groups.
Select the user group you want to edit and update the information.
Editing a User Group
Click Submit.
Before deleting a user group, make sure it’s not in use.
Go to Settings >> User Accounts from the navigation bar and click User Groups.
Click the Delete ( ) icon from Actions.
To delete multiple user groups, select the user groups, click the MORE dropdown, and select Delete Selected.
To delete all the user groups, click the MORE dropdown and select Delete All.
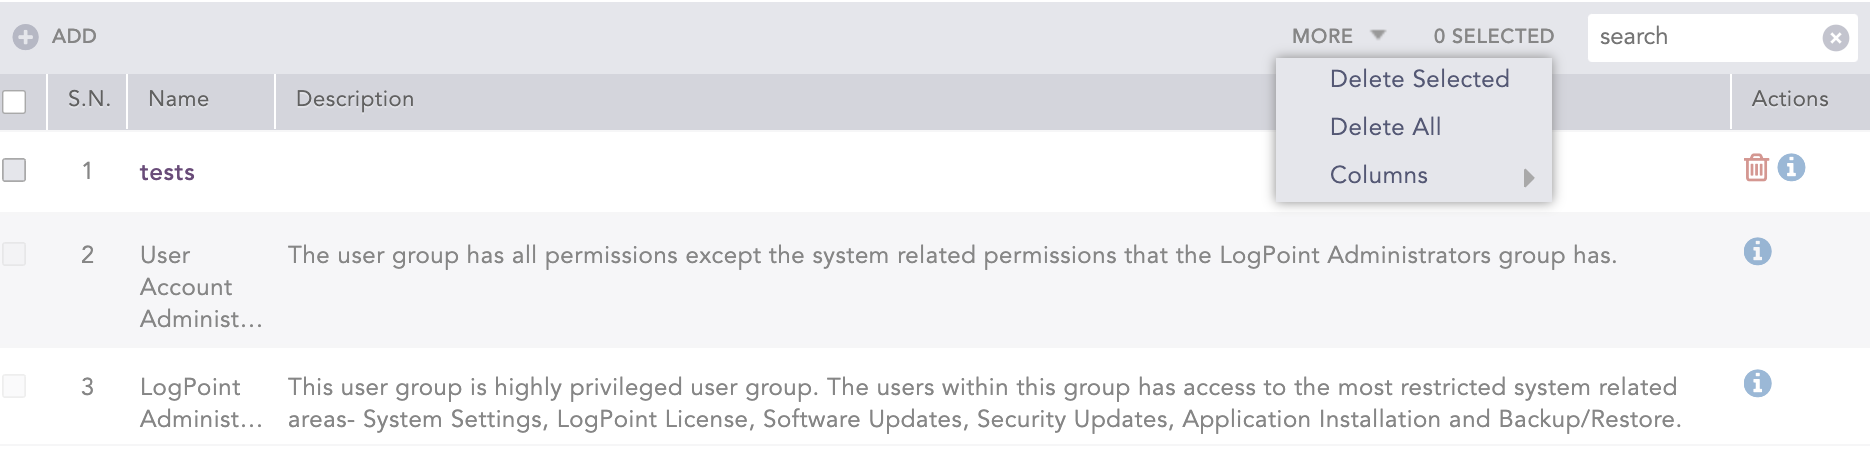
Deleting User Groups
Click Yes.